Feeds:
Posts
Comments

DSC_0367

Sorry for the hiatus. The spring was relative uneventful for fermenting ’round here. But there’s some activity, in spite of the cool summer we’re having here. More to come. This post courtesy of maprenger:

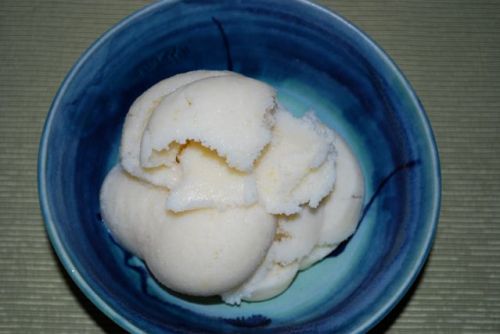
Lemon Kafir Ice Cream

1&1/2 c kefir or plain yogurt

Zest of 1 large lemon

1/3 c lemon juice

6 oz agave syrup

DSC_0350
mix all ingredients together in a glass bowl…cover with wrap & put in freezer for 2 hrs…remove and blend or process until smooth…return to freezer until ready to serve…

DSC_0347

options & substitutions & suggestions…maple syrup, sugar or honey&sugar…buttermilk…

limoncello optional….

This is one of the easiest “ice creams” i have ever made and proved to me that you do not need a ice cream machine to make terrific delights! i originally made this with milk but was inspired by kai’s blog
to try this transition. it seem to have the texture of gelato and sherbet and can’t be beat on a hot summer’s day in chicago or baltimore! I first served it all by itself, but along side shortbread cookies or a
slice of lingonberry sour cream cake and berries…just a taste of heaven! hope you enjoy….

DSC_0369

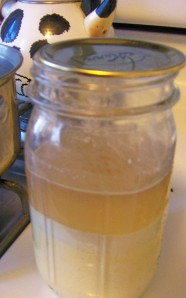
Kefir– starting with milk

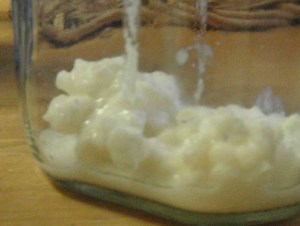
At brunch two weeks back, John passed some grains along to me in a little glass jar. I was ogling some hamentaschen at the moment, so only gave them the shortest glance: a cluster like little clear tapioca balls in a some thick milky liquid. It went in my bag and then I got coffee and cookies for breakfast.

Grains!  Only more like globs.

Grains! Only more like globs.

These incredible little mushy guys are capable of turning just about anything into yogurty kefir. Kefir reasonably good for you (full of micro-organisms and good yeasts, vitamin B and potassium, without much lactose at all)– the internet indicates that it can grant eternal life, etc. Anyway, the health thing is secondary. Homemade kefir, if you’ve ever had it, makes the stuff in the grocery store into a bit of a joke. It’s velvety, you might say. Like a thinner yogurt, produced by a slightly different group of bacteria.
I’ve heard tell of some strange kefirs, up to and including a Mountain Dew, but I made my first out of cow milk.

John, Lewis and Liz, who know HP far better than Kai or myself, led the way out into the pouring rain and down the block to Open Produce, where a nice guy with a beard sold me some Grass Point Farms milk from Wisconsin. A delightful day all in all.

That afternoon I got the kefir started:
4 cups 2% milk
between 1Tbsp and 1/3 cup kefir grains

Process:
Milk and grains in jar. That’s pretty much it. Seal the jar and put it in a cool place– for me right now, that’s the windowsill. It took from Sunday night through til Wednesday morning for this to get to where I wanted, so estimate about 3 days. In subsequent stabs, the kefir went in the oven to develop at about 80 or 90 degrees– it got thick twice as fast. Agitate the jar every morning and evening a bit– the grains do have a tendency to curd up, and this will let new milk circulate around them. Give the concoction a taste as you do it.

When it tastes about right for you, pour the kefir off into another container and strain out all the grains. Pop the finished kefir in the fridge, and start another batch.

I moved on to goat milk (success!) and coconut milk (strangely salty. Seperates during the process, but tastes good).

BTW, Swell kale and kefir salad recipe (from Mark Evans originally, who tastes and complains here, via Liz and then John:)

a bunch of kale, deveined and chopped pleasantly fine.
2-3 cups kefir (enough to really coat the leaves and get in all the folds)
1 tablespoon curry powder (more if you like it)
1 shallot, minced
1 – 2 teaspoons thyme
1 – 2 pinches of rosemary
some pepper (and a pinch of salt), to taste

mix up the kefir and spices, toss with the chopped kale, serve.

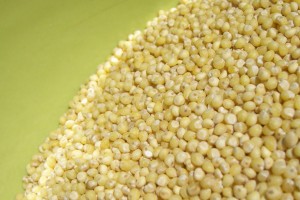
millet

it's a looker of a grain, ain't it?

fermented millet is great for the beginner who wants to ferment but wants to ferment NOW.

it can ferment in as little as a day depending on the warmth of your kitchen and how bacteria-y you like your food to taste.

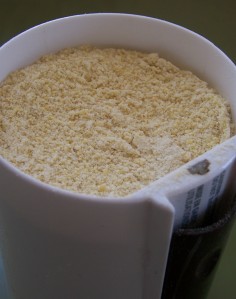
take your millet and grind it into a coarse flour.

i use a coffee grinder.

i use a coffee grinder.

stick it in a jar, add water to cover, stir it up and cover with lid or towel.

fermi-millet

then leave in a warm, dark place for a day or two. (i usually wait 3, but my apartment is not the warmest in the winter.) when you return and stir you’ll notice some small bubbles and a smell reminiscent of your microbiology lab.

to turn this into something edible and delicious we must sadly move away from the world of fermentation and return to our kitchens with their stoves and pans and seasonings.

the millet is turned into a porridge in much the same way that you make polenta.

bring water to a boil in a large pot and add in millet (and millet water), stirring constantly. it’s about a 2/1 water/millet-mixture ratio, though i’ve never measured it exactly. continue stirring, adding water as needed until you’ve achieved a thick mush.

(as a side note if you’ve ever made polenta you’ll know the various annoyances that come with this method of cooking i.e. popping bubbles of hot polenta, thinking you can walk away from the mixture for one minute and coming back to find giant lumps from you not stirring, needing way more water than the recipe calls for, etc. all these things are also true for millet porridge.)

you can eat this as is with a little salt, but the taste tends to be strong and odd for most people’s palates.

i recommend the following recipefermilab

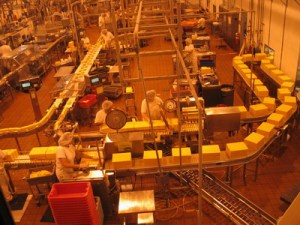
insidecheesefactory1

….

FERMI-CHEEZE!

ingredients:

2 Tbs olive oil

2 cloves garlic chopped

3 c fermented millet porridge

1 Tbs tahini

1/4 c nutritional yeast

1 tsp salt

sautee garlic in olive oil over medium heat.

stir in millet porridge and tahini

add in nutritional yeast, salt.

………………

so far i’ve used this in cheesy potatoes, a lasagna-like eggplant dish and i plan on using it to make the perfect vegan chicago-style pizza as soon as i pick up my chicago-style pizza book from the library.

which i’m going to do right now.

happy fermenting!

Pineapple Vinegar

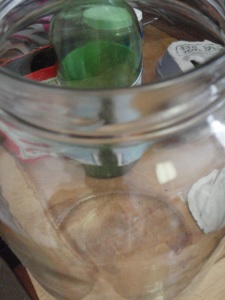
We'll know how this turns out in about a month!

We'll know how this will turn out in about a month!

This morning before brunch and with the help of a certain roommate, Ryan was persuaded to pick up a pineapple from the store for the weekly celebration of food and friends. I asked him to save the peels, as I have meant to try my hand at making pineapple vinegar.

The real peel

The real peel

While I’ve seen a few recipes that use chunks of pineapple, this method promotes efficiency, eating the tasty inside of the fruit, while finding a role for the more prickly parts.

I’ve been admittedly slow on the vinegar-love train. Only when introduced to a spicily infused apple cider vinegar in Portland last year did its culinary uses pass my palette’s path. Nowadays, vinegar has found many applications in my comings and goings: white hangs out in the cabinet under our sink for cleaning, apple cider will cook large cabbage salads in the refrigerator. Though it’s been a while since a red wine or balsamic graced the shelves of my living quarters, I would return to them in equal enthusiasm.

The impetus to give this concoction a try also arrived with my new gallon jars, another addition to my food project arsenal.

Thank you Orem, Utah!

Thank you Orem, Utah!

Already, I have a gallon or so of Kombucha Tea brewing up (thanks Jonny), and I plan to have some Egyptian beer started early next month. Spring’s around a few corners in Chicago, but I’d love a vat of Kim Chee readied as the city emerges from its hibernation. The increase in batch-size of fermenting projects reminds me of last summer’s gallon of vegetable ferment at Fort Awesome, made when I was cutting my teeth in what would become the forceful obsession of sticking food in jars for weeks and seeing what would come of it. The beauty of these jars derives from their wide mouths, offering an increase in surface to air exposure, keeping both mold and longer fermenting times both farther and further from my projects. It also will be much easier to reach for bok choy at the bottom and manipulate stuff with my hands and utensils if needs be. Needless to say, with warmer weather will come more brewing over in this part of the country at an even greater ease.

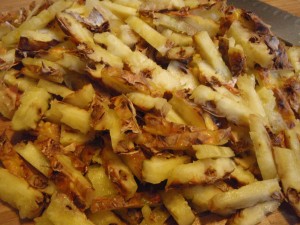
The recipe for pineapple vinegar is simple. Chop pineapple peels and cores into small chunks:
I dispatched with these in minutes at brunch today, because I had a headache and wasn't much on talking.

I dispatched with these in minutes at brunch today, because I had a headache and wasn't much on talking. Apologies if I seemed moody guys!

My favorite blurry picture out of the bunch.

My favorite blurry picture out of the bunch.

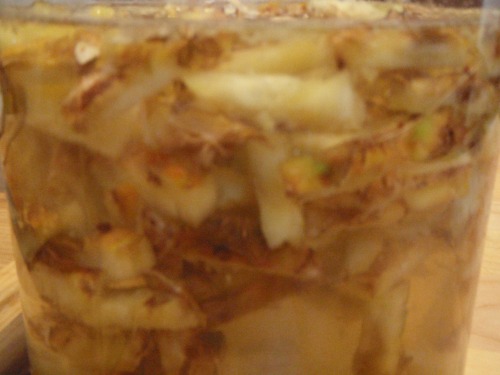
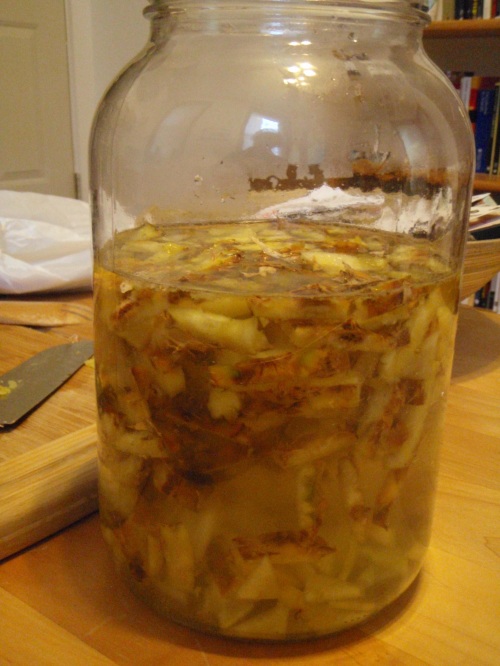
Dissolve 1/4 cup of sugar into a quart of water, and add chopped pineapple material and give it a swirl or two. I doubled the recipe. As always seems to be the case when fermenting in a wide mouth jar, cover the opening with a towel secured to the jar with a rubber band. Find a dark spot, or at least a place out of direct light, for this mixture to rest and relax. The liquid will become dark after about a week or so, at which point the pineapple pieces should be strained. The fermenting vessel should be returned to a dark spot, towel-covered and all, and allow to ferment for another two to three weeks. It should be ready by then (I’ll have to keep you folks posted on how it turns out).

Silly simple graph

Silly simple graph

One crucial difference in this ferment: it’s the first completely aerobic fermentation on this site and the first that I have attempted. Alcoholic ferments rely on seclusion from air; when such liquids come in contact with air, Acetobacter bacteria and Mycoderma aceti yeasts convert alcohol to the acetic acid that we all know and love (correct me if I’m wrong, any scientists who are reading this). The emphasis on contact with air provides a nice change of pace for this fermenter: most of the time in vegetable pickling I’m trying to avoid it! Because making vinegar entails an aerobic process, stirring occasionally to increase air exposure will help the conversion along.

You might be asking yourself what I’m going to do with a half gallon of pineapple vinegar…the vague answer: anything I want to! The more detailed answer might be that I want to enjoy pineapple type in the way I usually enjoy vinegar: on a salad or mixture with water as a beverage, to spice up some roasty vegetables. I’m also hoping to separate this huge amount into smaller containers, to produce a few different infusions (garlic, hot pepper, ginger etc.). Maybe I can even gift a bit to friends (I’ll see what I can do Kirstin). In any case, it should be ready at the end of March.

Kirsten wanted to admire this fellow before I set him up high on a shelf in our closet.

Kirstin wanted to admire this fellow before I set him up high on a shelf in our closet.

Hey everyone,

So I’m still a-waiting a camera part so I’ll keep it short (in retrospect, I failed at this). I just wanted to update on some stuff. I did try making coconut milk yogurt, which came out very well. I used a small container of Silk soy yogurt as a starter, so it was a completely vegan yogurt endeavor. I had been (properly) warned that the consistency will be unyogurt-like if no gelling agent was added. It is liquidy, just like coconut milk, but it tastes great. The richness of the coconut milk goes great with the sourness of the yogurt. Laura suggested making frozen yogurt out of it, which would be pretty awesome, so that might be something for the future.

Also, our first super successful batches of kombucha came out. A little sweet but also tangy. Even our roommate Spike, who despises fermentation more than is healthy for him, tried the kombucha and said it was better than storebought booch. The process is easy: you just boil a liter/quart of water with a 1/4 cup of sugar. When it boils, turn off heat and steep a couple tea bags (any kind) for 15 minutes. Let it cool to room temperature and transfer the liquid to a glass jar or bowl. Place a “mother” culture smooth side up in the jar and add a tablespoon (or more) of kombucha (store bought or left over from a previous batch). Cover with cheesecloth and wait a week to 10 days.

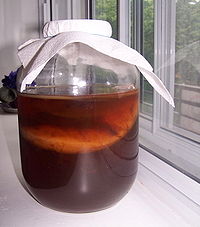
Someone else's kombucha.  Well, it's better than no pictures.

Someone else's kombucha. Well, it's better than no pictures

During the process of fermentation another “mushroom” (it’s not actually a fungus) or mother (it’s not actually somebody’s mom) will start forming in top of the liquid. It might look kind of weird, but it’s nature’s course. Don’t F with your mom. You don’t really wanna jostle the jar too much or else your new mom will be ill-formed and it won’t be a good scene. Start trying it after about a week to see if you like the way it tastes – a shorter ferment (a week or so) will yield a sweeter drink, while a longer ferment will yield a more tart, sour drink. I’ve also heard of people adding a little apple cider vinegar in the beginning to make it a little more tart (and it probably helps speed up the fermentation, i’m guessing?). Supposedly the fermentation works better in a bowl that is wider than it is deep, but I’ve been using a large mason jar and it’s come out great. If you want a mother culture (which should be cheap, but hard to find), let me know and I could maybe send one out to you. If you’re in the Chicagoland, I’ll be sending one to Kai today or tomorrow, so your best bet is to wait until Kai produces another mother and get it from him.

Also, made some badass baguettes using a sourdough starter and the Bread Baker’s Apprentice. Ginger beer is incubating. Kimchi and Labneh are next on the list. I’m also hoping to get some experience with basic cheesemaking for…so…that…I…can…try to emulate the process with nondairy products to make a better nondairy cheese than there is in my life right now. If you’ve got any ideas, let me know.

I’m Jonny…and I’m outta…heeeeere

Kathmandu resembles Chicago in the very least

Presumedly where some folks would be spicing their winter soups with gundru

Familiar to the Newar culinary traditions, Gundru is a no-salt vegetable ferment long on process, pungent and lip-smacking delicious. In the harsh winters, fermenting Brassica greens is a great way to preserve a harvest; personally, we’re big fanatics about greens around here, be they collard or mustard, which are plentiful at our beloved Egg Store, or kale or chard that come delivered to our doorstep from our CSA.

I’ve participated in my fair share of vegetable ferments in my time, but my skepticism ran higher than usual about the lack of salt, typically a crucial component to pickling in the lacto-bacterial tradition. Additional, the few recipes I’ve spotted in print and on the internet actually require nothing more than the greens, the sun and patience.

Three weeks ago, expecting Colleen to swing by the apartment to jar her first attempt at making kimchi, I decided to make a first attempt of my own when I purchased some turnip greens, spent the afternoon wilting them in the oven, and cleaned out the remains of sauerkraut from a liter-sized jar.

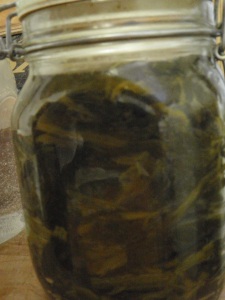
After the leaves wilted, I took the rolling pin to them on a cutting board, and low and behold, the juices started flowing, almost opaque green. I stuffed the sludge tightly into my jar, making sure tamp down the greens such that the juice remained above them. I ended up with a jar full of greens.

Colleen can attest to the effort it too to get five bunches of turnips greens in there

Colleen can attest to the effort it took to get five bunches of turnip greens in there

One of the major dictators of success while on a veggie pickling adventure is keeping the liquid level higher than the food. Plant matter left to the air basically rots and molds, as I’m sure most of the readers here know intimately. The bacteria that causes these undesirable reactions can be kept at bay provided that the vegetables stay below their juices (or salt water/juices in ‘krauts and kimchi). As far as I know, two techniques for keeping those plants where they belong include: (a) using a clean plate and a heavy object to way vegetables down or (b) “punching” them with your fists daily so they learn their lesson (they’dah stayed there if they knew what was good for ‘um). I’d recommend checking in on any veggie ferment daily, just to make sure the whole venture isn’t going awry.

The most prominent cause of issues that can potentially throw our train off the elevated track, careening us towards multi-floored office buildings and hurtling us down towards the busy street (sometimes I get nervous while riding the L, what can I say) comes from the CO2 being release during fermentation. Don’t be afraid to apply some pressure and release those bubbles from their birthplace.

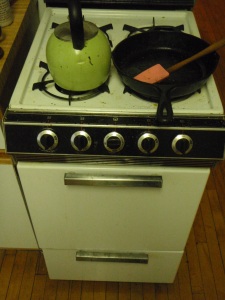
The recipes that served as my guide recommended that the jar be closed, sealed, and left in the sun for two or three weeks. Frankly, I couldn’t rely on the weather to provide consistent sunlight day in and out, so I left my jar in our trusty oven.

That's the cutest little oven you've seen all day!

That's the cutest little oven you've seen all day!

After three weeks, opening the jar jolted my senses: this concoction smells pungent. I use that word in the Chinese description of a taste; it’s not that it smells bad, just really hits your nose as a distinctive aroma, similarly to greens fried in a pan, only more so.

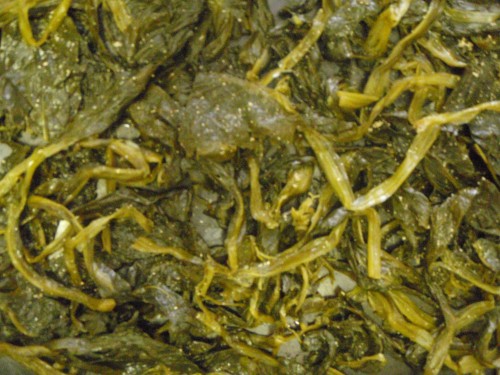
While gundru makes a tasty snack raw in my estimation, the Newar people dry the fermented leaves in the sun to store them for use in the winter. Of course now they apparently have pre-made gundru, but back before mass produce, the fermentation process could facilitate leafy-greens for soup-type dishes. Gundruk Ko Achar, a dish similar to Saag, is one example. I took about three-fourths of the stuff and spread it on pans in the oven at low heat.

Look at this spread, it's glorious

Look at this spread, it's glorious

I sprinkled fresh-ground white pepper, just for kicks, as I acquired it while on today’s errands.

As the gundru dries out, a whiff of seaweed enters the olfactory picture.

I plan on using the dried leaves as a spice in the many variations on rice and legume soup I make in huge batches to bring to work every week. Despite a lack of salt, it brings a similar flavor to mind when it’s dried. The remaining fourth of gundru will serve as a side for tonight’s dinner. If the dried product turns out to be tasty, I’ll take orders when Ryan and I get Tickles & Pickles, our message parlor/fermented goods store, up and running.

(Note: this commercial concept was developed by my parents in jest, as a fictive proposal combining their sons’ interests…I’m still waiting on the business model folks!)

A Sourdough from Quebec

As everyone knows and most people admit, sourdough is amazing. You can do incredible things with a little goo you can keep in your fridge. I sometimes read that sourdough starters are high maintenance. Well, your mom is, and that didn’t stop your dad, your uncle, me, or the swim team. Right?
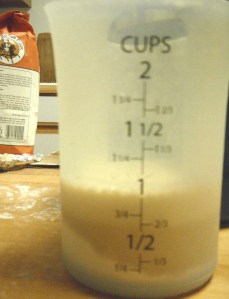
Food for the yeast

Figure 1: Food for the yeast. Flour looks on in background.

Besides, the statement’s just plain wrong. Many sourdough starters do have to be fed a combo of flour and water every few days. This is an “Amish Friendship” starter, though. It’s actually sweet, fed on equal parts sugar (or honey), (soy) milk, and flour every week or two. There’s a shot of the stuff I feed it to the left (Figure 1).

So I scoop out a little to make bread with and then I feed what’s left of the starter (with Figure 1). I leave the starter out for a few hours to propagate in the warm, but then put it back in the fridge until I need it again in a week or two. It can even go in the freezer for cryogenic-style storage if necessary.

There are a lot of ways to make a starter. My way is great, I think, and I really recommend it, but there are a bunch of different strategies for capturing the wild yeast in your environment and you can make great stuff with any of them.

However you get your ferment bubbling, this recipe adapted from Jeffrey Hamelman’s Bread book for a wheaty bread is a good one to start using it on. The steps are straightforward and the dough’s easy to work with.

———-

Time:

Probably 18 hours from start to finish.

Ingredients:

Flour- 6 and 1/2 cups “high extraction whole wheat” or (I used King Arthur Flour‘s white whole wheat. Thanks, Kai.) or else about 5 and 3/4 cups whole wheat and 3/4 cup white flour.

Water- 3 and 1/4 cups

Salt- 1 tablespoon

Starter- 3 tablespoons

Yield:

2 delectable loafs

———

THE MICHE

A miche is a very thick sort of pre-ferment. Get it started the night before you plan to get cooking.

Combine:
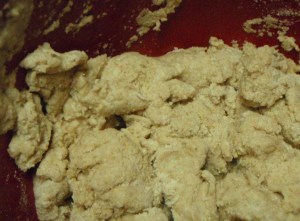
Awesome.

Figure 2: Awesome.

1/2 cup water

3 tablespoons starter

1 and 1/2 cup flour

(or 1 and 1/4 cup wheat and 1/4 cup white flour)

This is just the beginning. Stir the well-fed sour in the water and add flour. Set it in a warm or at least draft-free place for 12-16 hours, like the oven.

Yeast, as you may know, basically does three things. It eats sugar, it reproduces, and makes carbon dioxide. This clump (Figure 2) is going to be shockingly fluffy after 16 hours. Poke it, because you will not be able to resist, and then put it aside to work on …

———-

THE DOUGH

Combine:

water- 2 and 3/4 cups

flour- 5 cups (or about 4 and 1/2 cups whole wheat and 1/2 cup white flour)

1. Autolyse: LEAVE IT ALONE (for between 30 and 60 minutes)
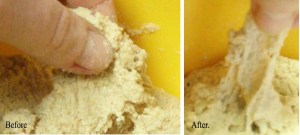
Gluten!

Figure 3: Gluten!

The gluten is basically what breadmaking is all about. Autolyse, a short rest period after ingredients are combined, allows the flour to hydrate and gluten to bond, according to the esteemed Professor Raymond Calvel (what a baker!) and makes the dough easier to work with.

Can you see the gluten? hint: FIGURE 3! See, in the first shot the dough is just clumpy. Then I let it be for an hour. Some time relaxing allows the dough to get mad stretchy.

2. Add the rest

Add:

Salt- 1 tablespoon

All the puffy clump you mixed up already

Ok, sprinkle on the salt, throw this together with the miche, and knead for about 10 minutes. As you knead, remember that the point is to work the gluten. Stretch the dough, fold it, and stretch it again. Sprinkle more flour on if necessary.

———

THE PROCESS

1. Let rise 40 minutes

Self explanatory

2. Fold

Fold that dough!

Figure 4: Fold that dough!

This strengthens the dough and deflates the dough a bit so that the yeast won’t produce so much gas that they burst the gluten. Fold it in half, in half again, and sort of gather it together into a ball, sprinkle with flour, and leave it (covered) to rise again.

3, 4, 5, 6: Wait 40 minutes, fold it again. Wait 40 minutes, fold it again. That’s 3 folds, total.

7. Divide in to two and shape each ball into a nice loaf.

Shaping an oblong loaf

Figure 5: Shaping an oblong loaf

This is actually simple. Fold all four sides in as above (Figure 5) til you get to something that looks like the 3rd photo. Then flip it onto its seam and roll it back and forth a little. I’m serious. Keep that up (hands on the pointy-ish ends to help smooth them) until you get something like the 4th photo.

8. Let it rise 2 hours. I just put bowls over my loaves to keep them from getting dry and crusty skins, because I need the oven to pre-heat for…

———
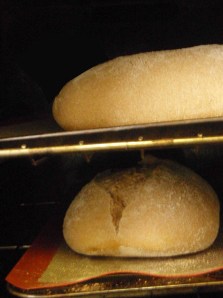
If you slash the loaf a little, you can get a nice split like this.

Figure 6: If you slash the loaf a little, you can get a nice split like this.

THE BAKING

Put a sheet in and heat the oven to 440. It’s important to get the oven nice and hot if you want a really good oven rise.

Bake at 440 for about 15 minutes, and then turn the oven down to 410. Keep trucking for about 45 minutes (that’s an hour, total).

—————

HOLY CRAP YOU MADE:
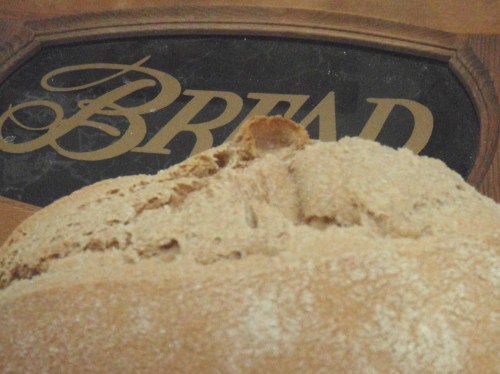
Look, the breadbox is menacing the bread like Putin's face menaced  Alaska in that fabulous image that was circulating on the internets during those dark days when we thought maybe the VP of the US would be funny in a DIFFERENT way.
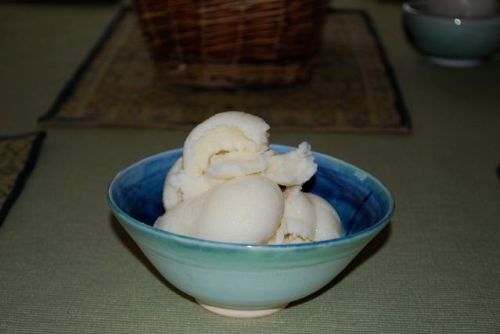
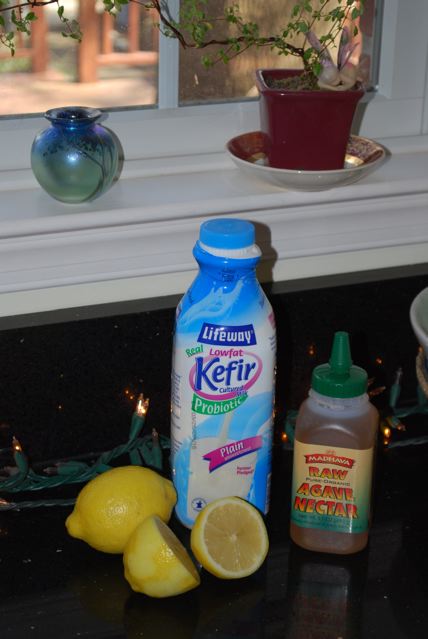
Figure the Last: Look, the breadbox is menacing the bread like Putin's face menaced Alaska in that fabulous image that was circulating on the internets during those dark days when we thought maybe the VP of the US would be funny in a DIFFERENT way.
So I’m actually waiting for a piece of my digital camera to be mailed to me from the West Coast, so unfortunately this post will not be illustrated; accordingly, it will probably not be very long. I made my first pass at yogurt the other day and it came out fairly well. (In case you’re wondering, yes I’m vegan generally, but I’m also really interested in the process of making yogurt, so I selected some good quality, well-produced milk and decided to roll wivit). I used whole milk from Remember When Dairy, a farm based in Yantis, Texas. The milk is low temperature pasteurized, unhomogenized, and follows organic guidelines (the farm, which opened in mid-2008 is not certified organic yet, but the cows get to have parties and eat nice grass and unmodified grains – who could ask for more?). The dairy guy at Wheatsville Co-op, the best co-op ever, was incredibly friendly, interested, and helpful in picking out the right yogurt and milk and giving advice.

Yogurt-making is very simple; basically, you heat milk to about 180°, cool it to 110°, add a little yogurt as a starter (I used White Mountain, a minimally process, organic, local Austin brand) and stir it into the milk, pour it into a jar, and incubate it at about 122° F. Temperature varying seems to be ok (with slightly cooler incubation temperatures, not hotter — it will kill the bacteria). To incubate it, place the jar of milk-to-be-yogurt in an insulated cooler and fill the cooler with 120° water high enough that the lid is above the water and the bottom of the jar is still touching the cooler. This is obviously a simplification and you should consult sources if you’re gonna try making yogurt, but it’s basically a very simple process.

Try the yogurt after a few hours and if it’s not ready, allow it to ferment more. I used primarily Sandor Katz’ Wild Fermentation and David B. Frankhauser’s Web site as guides, and they both seem like good resources to consult. They differ on certain things, for instance Frankhauser estimates a 3 hour ferment while Katz suggests 8-24 hours depending on your taste preference. This is kind of nice to see because it shows that a lot of the steps of this process are flexible, which is encouraging.

Anyway, some tricks I’ve found:

My Longhorns (I live in Austin, now, so everything is branded with Bevo the Longhorn – yes that’s a creepy name, but that’s another post for another blog) cooler leaked the first time I made yogurt. This time I’m trying it in the bathtub – good idea Laura.

Also, I found that water out of the bath tub is approximately 122°, the perfect incubation temperature for the yogurt (I cooled it slightly, because 122° is on the high side of the acceptable temperature range and I’d prefer to err on the side of caution). The bathwater is definitely NOT mixing with the food being made, but in the cooler surrounding the tightly sealed jar of yogurt. Hopefully this will turn out well. All in all, this second attempt took about 10 minutes prep time, whereas the first attempt took much longer, so if this comes out well, the world of yogurt-making will be MIIIINE!!!!

Ok, I lied. It was kind of a long post. I’ll try to get some pictures soon to justify longwindedness.

Jonny Grass

p2080891

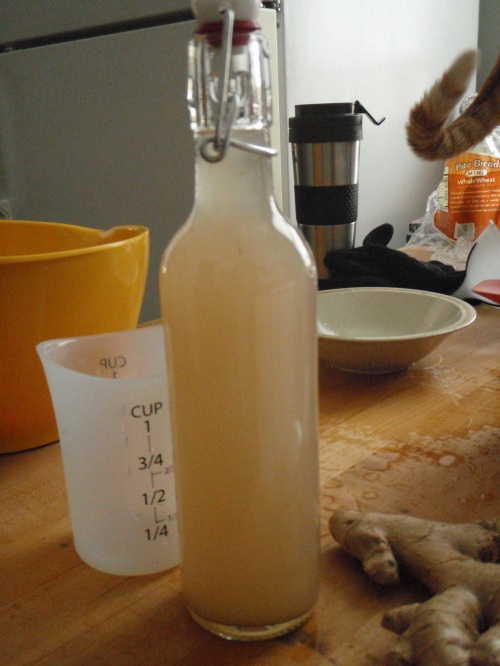
Call it an accoutrement to a summer day fantasy if you like; for the past three weeks, my fermenting life as revolved around ginger beer, ginger ale’s more potent and therefore more desirable brother. In fact, I’ve reached the point where my ginger bug (a starter along the lines of a sour dough starter) is thriving, and a rhythm is developing such that our small home will never be without this beverage for too long.

To make the ginger bug, start with a cup of water, two grated tablespoons of ginger and two tablespoons of sugar, and mix in a jar. Cover the jar with a clean towel secured by a rubber band, and let sit in a warm place for two days to a week. Every day or two, add two tablespoons of ginger and sugar and stir. Soon, the mixture should bubble audibly when moving the jar. It is possible to maintain this bug much like a sour dough starter (feeding it ginger and sugar), even keeping it in the refrigerator to make it dormant until it’s ready to use, and feeding it and bringing it back to room temperature the day before it is needed.

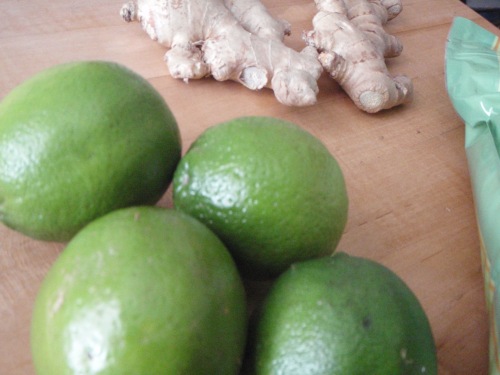
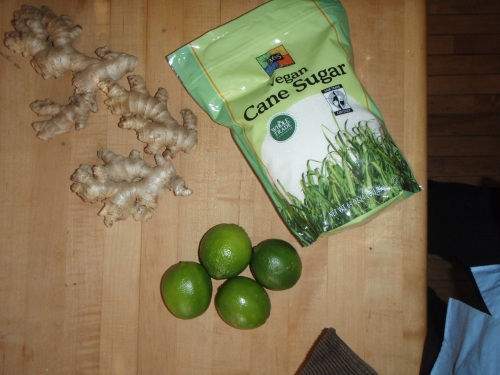
So, as for the beer, you’ll need more sugar and ginger, plus a lemon or two.

"Lemons"

Those lemons are a little greener than usual. I like to experiment a little.

So, boil a half gallon of water, grate two to six “knuckles” of ginger, and boil it with a cup and a half of sugar for 15-20 minutes, then let cool.

Throw it in a pot of boiling water, sir!

When the liquid approaches room temperature, add another half gallon of water, juice the lemons into the ginger/sugar/water, and finally, the ginger bug. The ginger bug can be perpetuated by preserving a tablespoon or two, and then replenishing the ginger and sugar to its former amounts. Strain the liquid.

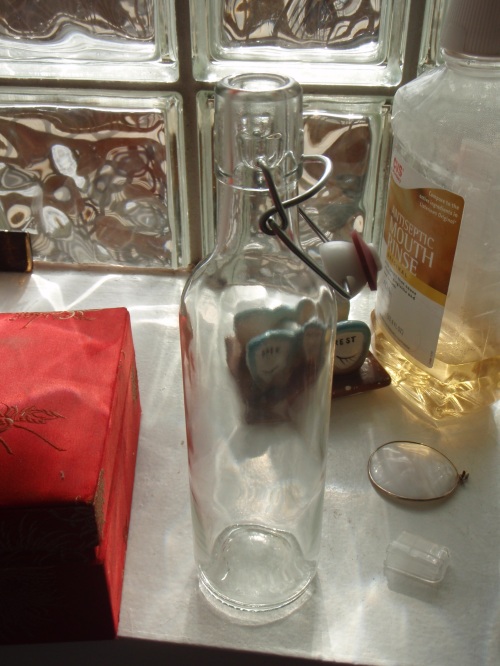
At this point, bottle and seal the liquid. I started off by repurposing quart-sized juice containers. Recently, in anticipation of a kombucha culture/yeast blob, I purchased some fancy swing-top bottles.

StylingProfilin'

Make sure you’re observing good fermenting hygiene…clean with non-antibacterial soap, and hot water, scrubs and suds, and rise clean and let dry and cool.

Store the bottles or jars in a warm place for four days to two weeks. Really, the only way to makes sure this elixir is bubbling up right is to try a bit. Word to the wise: because the contents are under pressure, exercise care when opening. Beth almost had her head taken off by a bottle cap from my first batch. If left too long, the containers may even exploded, so mind those bottles and jars, or at least store them in a place where you don’t mind shards of glass everywhere.

Boy, I can’t wait to enjoy one of these fellows on a hot summer day.

So it begins…

I’m going to eat breakfast, and then will document ginger beer making today.